Hygienic Floor Drainage Installation: 5 Steps to Meet Modern Design & Safety Trends
A proper hygienic floor drainage installation is your facility's first line of defense against biofilm, regulatory violations, and costly downtime in commercial kitchens, food plants, and pharmaceutical facilities. Yet many buyers still treat drainage as an afterthought—until an audit fails or a contamination event occurs.
In 2026, smart facility managers and specifiers follow a structured, step-by-step approach. Below are the five essential steps to a truly hygienic floor drainage installation, with engineering insights from CMSA—a manufacturer that builds drainage systems for the next decade, not the last one.
STEP 1: Assess the Facility's Hygiene Load and Regulatory Map
Before selecting any drain, you must understand what flows across your floor and what inspectors will demand.
• Identify effluent types: Grease, sugars, proteins, acids, or salts? Each behaves differently and requires specific stainless steel grades (304 for general food, 316L for seafood or pickling).
• Map traffic and washdown frequency: High-traffic zones with forklifts need load class D400 drains; low-traffic prep areas may need only B125.
• Review 2026 compliance checklists: FDA's Food Safety Modernization Act (FSMA), EU's EN1253, and LEED v5 now treat hygienic floor drainage installation as a critical control point—documentation of internal radii, surface finish, and cleanability is mandatory.
• Plan for future expansion: CMSA's modular systems allow reconfiguration without breaking concrete, a key advantage for growing facilities.
*Pro tip: Start a compliance binder before you order any drain. CMSA provides EN1253 and EN16165 certificates with every shipment—essential for third-party audits.*
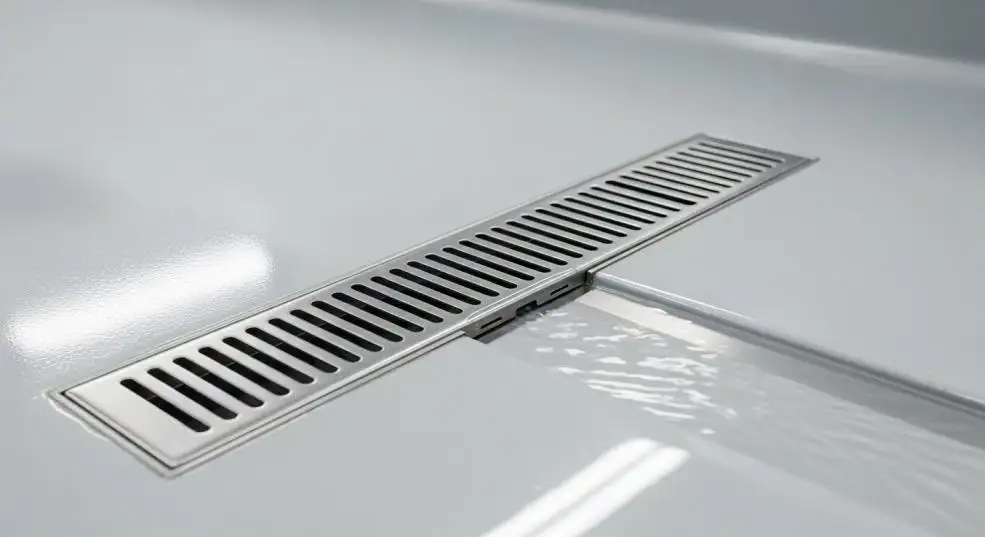
STEP 2: Choose Materials and Geometry That Reject Contamination
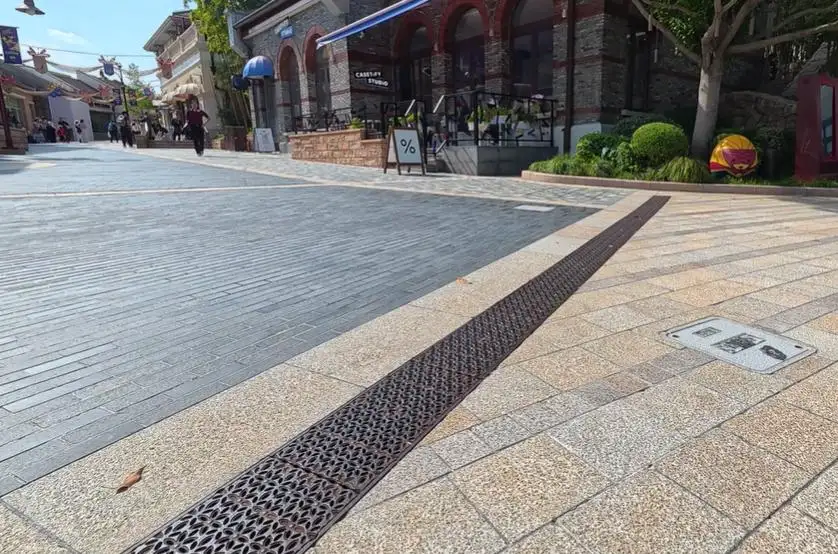
Conventional drains trap debris in corners and flat bottoms. A 2026-grade hygienic floor drainage installation eliminates those traps through deliberate design.
Material requirements:
• 304 stainless steel (AISI 304): For most kitchens, dairies, and breweries—excellent corrosion resistance to mild acids and alkalis.
• 316L stainless steel: For high-chloride environments (seafood, brine, swimming pools) and aggressive chemical cleaning cycles.
• Optional antimicrobial surface: Silver-ion infused coating reduces bacterial attachment by >99% in lab tests (CMSA offers this as an upgrade).
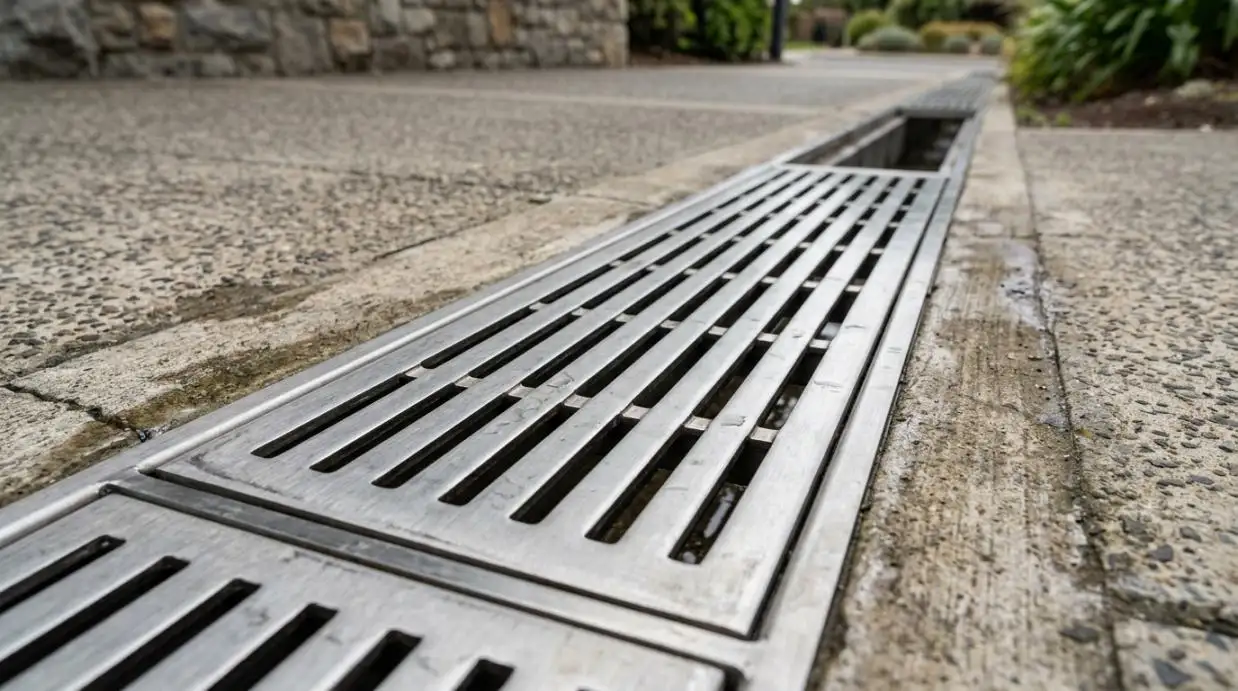
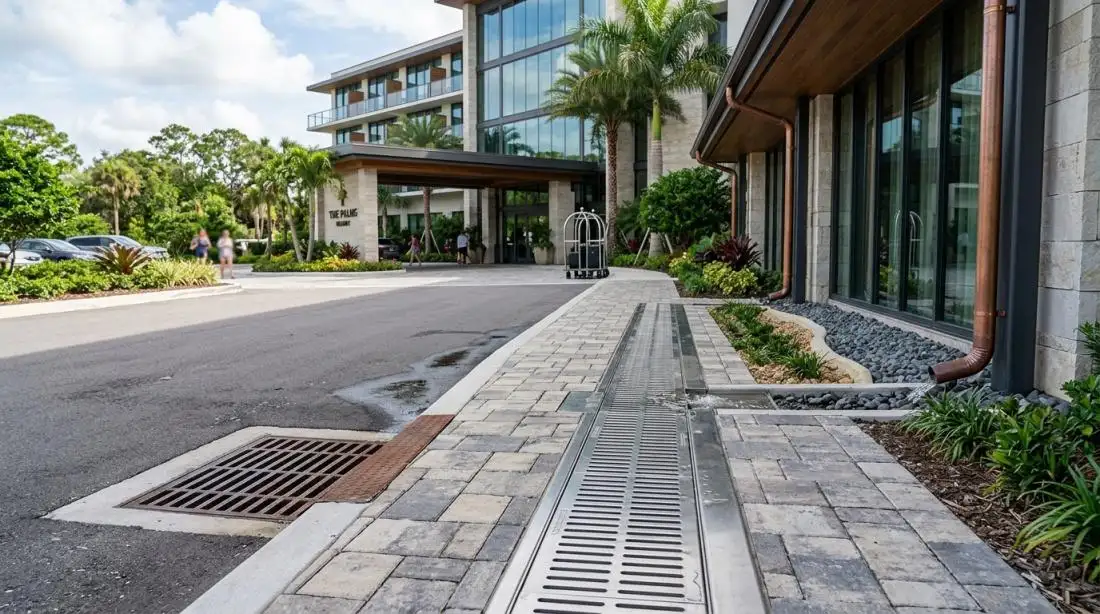
Geometry that works:
• V-shaped channel bottom: No flat surface = no standing water = no biofilm.
• Large internal radii (R≥10 mm): Every internal corner is a smooth curve—accessible to brushes and spray balls.
• Infilled edge concept: Seals the drain frame into the floor substrate, preventing moisture migration under tiles.
• Removable deep-seal trap (≥50 mm water column): Blocks odors, vermin, and backflow, and can be pulled for manual cleaning.
A poorly chosen material fails within 2-3 years. A CMSA 316L drain with V-bottom will outlast the floor itself.
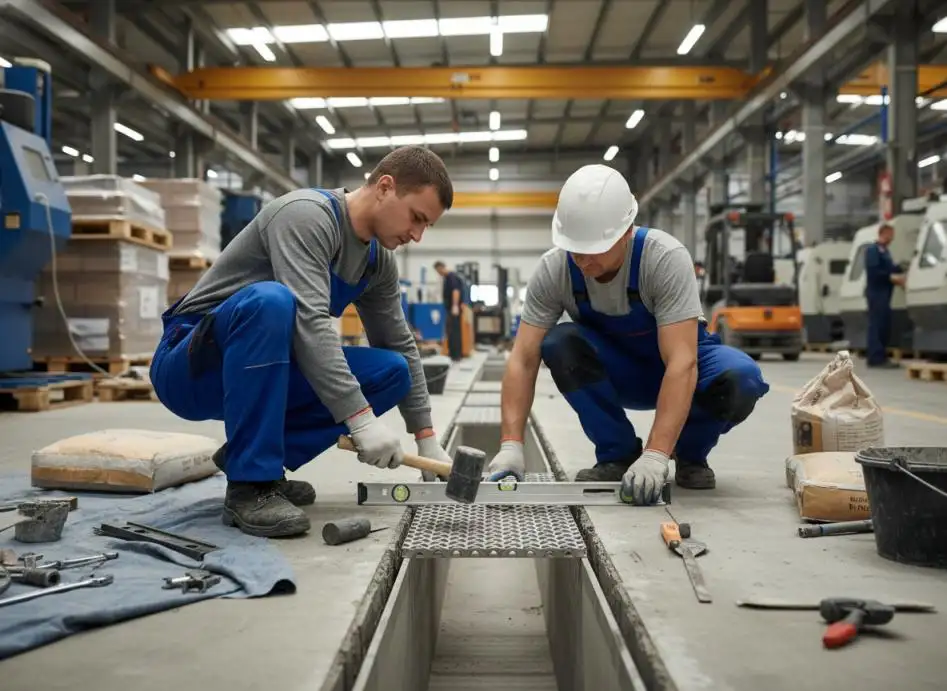
STEP 3: Execute Precision Installation With Slope and Load Support
Even the best drain fails if installed incorrectly. This step is where most hygienic floor drainage installation projects go wrong.
• Set exact slope (0.5%–1.0%) before concrete pour: CMSA's adjustable legs and anchor plates let installers fix height and fall—no guesswork, no shims.
• Embed the infilled edge into structural screed: Prevents frame loosening under forklift traffic and stops edge leakage.
• Use prefabricated factory-polished sections: Field welds create roughness and porosity. CMSA ships interlocking channels with compression gaskets—zero leaks, no on-site welding.
• Pressure-test all joints before backfilling: CMSA provides test caps and a full pressure-test protocol for your audit trail.
• Verify load rating: For loading bays and production halls, specify EN1433 class D400. CMSA channels are third-party tested.
One degree of slope error can turn a hygienic drain into a stagnant pond. CMSA's pre-set slope indicators eliminate that risk.
STEP 4: Integrate Cleanability Into Daily Operations
A truly hygienic floor drainage installation does not hide dirt—it allows complete sanitation in minutes, not hours.
• Smooth surface finish (Ra ≤ 0.8 µm): CMSA's electropolished interior reduces bacterial adhesion and makes biofilm easy to remove.
• No horizontal ledges or undercuts: Every surface is either sloped or vertical—foam and water jets reach everything.
• Removable strainer baskets: Catch solid particles before they enter the pipe network; pull, spray, and replace in under 30 seconds.
• Compatible with foam-and-spray systems: The open V-shape allows cleaning nozzles to hit all internal surfaces without shadowing.
• Visual inspection friendly: White-light reflective finish lets operators see residue immediately—no need for borescopes.
CMSA's design cuts sanitation labor by up to 60% compared to traditional U-channel drains. That saving alone pays for the system within 18 months.
STEP 5: Plan for Smart Monitoring and Future Retrofits
2026 is the year drainage becomes connected. Your hygienic floor drainage installation should accept sensors and upgrades without demolition.
• IoT-ready ports: CMSA offers optional threaded ports for water level, pH, flow rate, and blockage sensors.
• Real-time alerts: Detect rising water before a backup floods your production floor—integrate with BMS or standalone dashboards.
• Modular channel replacement: Damaged section? Unbolt, lift out, install new—no concrete cutting. CMSA's interlocking system allows for this.
• When greywater is compatible: For LEED v5 projects, use CMSA's Filter Cassette Option to capture solids ahead of greywater reuse.
• End-of-life recyclability: 304 and 316L stainless steel are 100% recyclable. CMSA provides material passports for green building certification.
A non-modular drain is a dead end. A CMSA modular system grows with your facility—today's manual drain can become tomorrow's smart drain with one retrofit kit.
Conclusion: A Step-by-Step Drainage Strategy Protects Your Brand
A successful hygienic floor drainage installation does not happen by chance. It follows a logical sequence: assess → select materials → install with precision → enable fast cleaning → prepare for smart upgrades.
CMSA has engineered every step with 2026 trends in mind: higher hygiene standards, labor shortages, sustainability mandates, and the need for future-proof modularity.
Explore CMSA's full product line and download EN1253 certificates at [CMSA official website]. For site-specific layouts or load class recommendations, contact the CMSA engineering team directly.
Frequently Asked Questions (FAQ)
Q: What is the minimum seal for draining the water in the hygienic floor drain?
A: No less than 50 mm (2 in) according to EN1253. CMSA traps have 50 mm or deeper traps designed to prevent odors and backflow.
Q: Do CMSA drains need to break everything in order to be installed in existing concrete floors?
A: No. CMSA modular channels can be retrofitted to be installed in cut trenches with adjustable legs, no need to break the whole floor slab.
Q: How often should the hygienic floor drains be deep cleaned?
A: Weekly for high-risk food areas, and every other week for dry storage. CMSA's smooth V-bottom and removable trap helps deep clean be quick and verifiable.
Q: Should I expect CMSA to provide documentation to support FDA or EU audits?
A: Definitely. Each CMSA hygienic drainage solution comes with EN1253, EN16165, and material test reports to support your compliance documentation.
Q: Do CMSA drains support the IoT sensors?
A: Of course. Optional threaded ports accommodate water level sensors, flow and blockage sensors without welding or other modifications.


