How to Size and Select a Drainage System for Residential Buildings
Designing a drainage system for residential buildings is easy to get right when you size it based on the actual flow of water—not just the pipe you happen to have in stock. CMSA manufactures drainage channels and accessories for residential projects that demand clean lines, safe walkways, and zero callbacks. This practical guide walks you through a clear, beginner-friendly sizing logic that you can reuse on everything from single-family homes to multi-unit residential buildings.
1) Start With the Water Map, Not the Product Catalog
Before you choose channels, downpipes, or outlets, sketch a simple "water map." Mark every place water is created or collected, then mark where it must safely exit.
In residential buildings, sizing errors often happen because different water sources get mixed into one assumption. Roof rainwater behaves differently than balcony washdown. Garage meltwater behaves differently than courtyard runoff. When you separate the system into zones, the math becomes easier, and your design becomes more reliable.
Typical zones to map out include:
• Balconies and terraces (rain + cleaning)
• Driveways/ramps (sheet flow + debris)
• Courtyards and garden edges (soil + leaves)
• Basements/utility rooms (floor drains, sump discharge)
2) Match Your Design to Local Rainfall Codes
Sizing is only as good as the rainfall rate you select. Many plumbing and building codes size roof storm drainage using an extreme event for the building’s location. For example, the International Plumbing Code commonly references a 100-year, 60-minute rainfall event.
That detail matters. A "light rain" design might look fine on drawings but will overflow during a real storm.
• Pro Tip: Use the same rainfall basis that your local authority expects for approvals. If the site has a history of intense downpours, add a practical safety margin.
3) How to Convert Roof and Surface Area Into Flow Rates
Once you have your drainage zone area and a design rainfall intensity, you can turn that area into a flow rate. One widely used conversion for roof drainage is:
96.15 ft² receiving 1 inch/hour of rain ≈ 1 gallon per minute (gpm).
That lets you estimate peak flow quickly:
Flow (gpm) ≈ Area (ft²) ÷ 96.15 × Rainfall (in/hr)
4) Size the Entire Drainage Path in Sequence
A Drainage System For Residential Buildings fails when one link is smaller than the rest. So size in sequence:
Step A: Inlets (Where Water Enters)
This could be roof drains, scuppers, linear slot inlets on balconies, or trench grates at driveways. The inlet must accept peak inflow without ponding beyond your tolerance.
Step B: Conveyance (How Water Moves)
Pipes and channels must carry the peak flow without trapping debris. The most common mistake in residential settings is undersizing "because it’s only a house," which leads to fighting clogs every season. For surface capture, we recommend linear channels because they collect sheet flow evenly, reducing slippery spots.
Step C: Discharge (Where Water Goes)
Discharge points should not dump water where it can return to foundations. Route to approved storm connections, a properly designed soakaway system, or site drainage infrastructure based on local rules.
5) Build in Real-World Safety Margins
Residential drainage is not a clean laboratory system. It sees hair, sand, leaves, packaging, and occasional construction dust for years after handover. To keep performance stable, treat "maintenance reality" as part of sizing.
Practical design add-ons that reduce callbacks:
• Add cleanouts or access points at direction changes.
• Use debris baskets at critical inlets (balconies, courtyards).
• Confirm that the required slopes are actually achievable on site.
For roof drainage specifically, published guidance notes that downspouts should not be too small for the area served, and highlights practical limits like avoiding very small cross-sections except for small canopies.
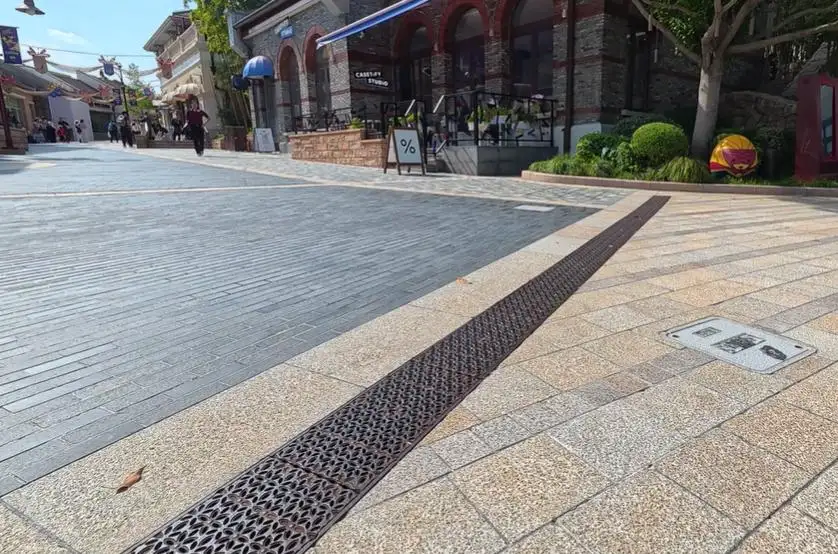
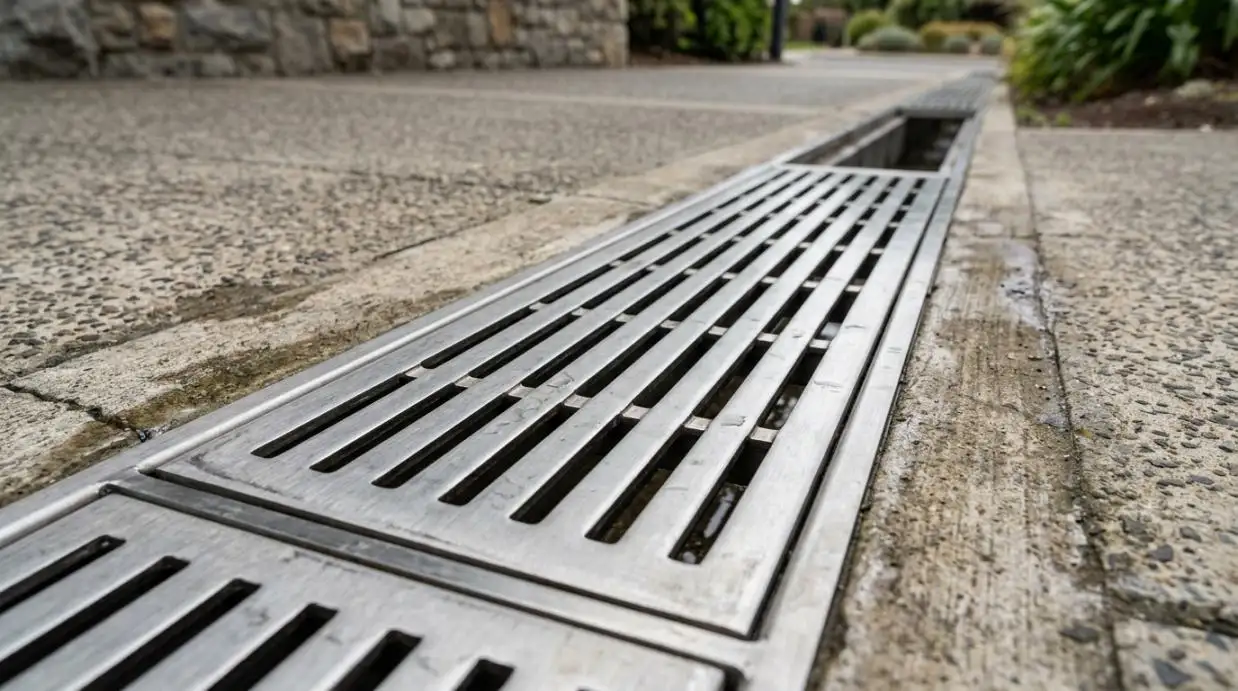
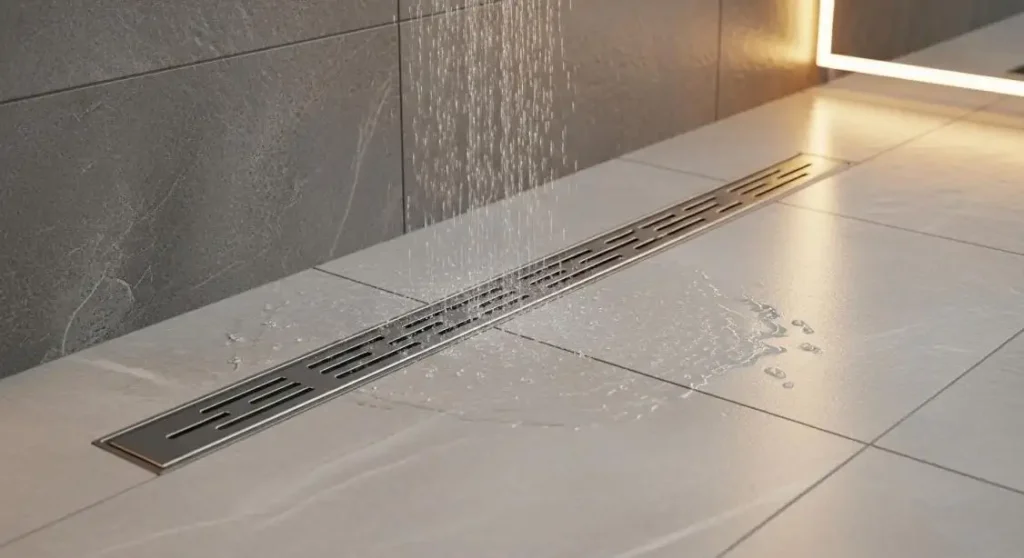
6) Discreet Slot Drains vs. Traditional Open Grates
For many residential buildings, the best-performing drainage is often the one people barely notice. That is why slot-style surface capture has become popular in paved or tiled finishes. Instead of a wide open grate, a narrow slot line collects water while keeping a clean architectural surface.
CMSA’s TopSlot Drainage is built for this "quiet performance." It integrates a slim surface slot into the finished paving line, allowing you to collect runoff without breaking the visual continuity of stone or tile.
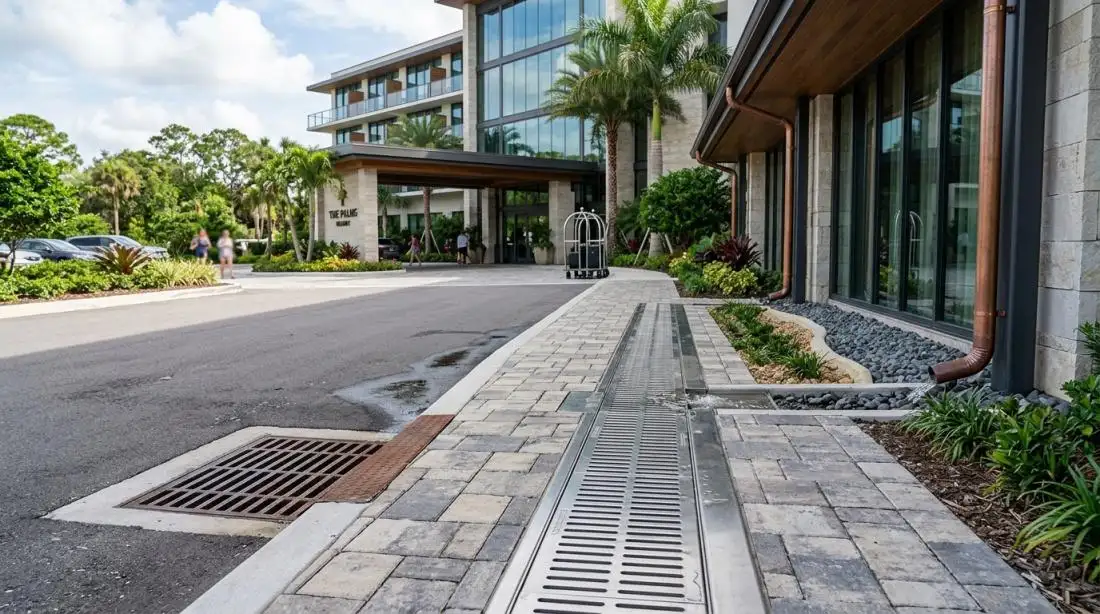
Slot drains make the most sense for:
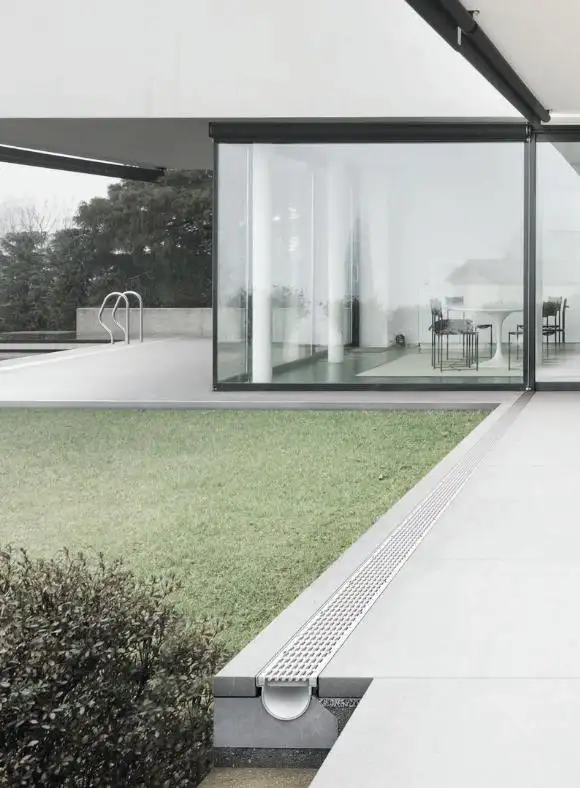
• Building perimeters and façade edges
• Courtyards, walkways, and entrance canopies
• Patios, terraces, and paved landscape borders
7) Matching Channel Width to Your Catchment Area
Sizing is not only about "bigger is safer." Oversizing can increase cost and complicate installation depth. Undersizing can cause backups and surface staining. A practical way to think is: your channel width should match your catchment area and how quickly water reaches the drain line.
TopSlot Drainage is compatible with multiple channel widths—from 100 mm to 300 mm. This helps designers scale the system based on the specific zone.
• Use smaller widths where catchment areas are limited and slopes guide water cleanly
• Use larger widths where you have long runs, larger paved areas, or "flat-looking" surfaces that drain slowly
• Treat corners, low points, and downspout discharge zones as "priority capacity" locations
If you want help translating your layout into a recommended width range, CMSA can review a simple drainage plan and point out where capacity usually needs to step up.
8) Aligning Slot Height and Position with Finished Floors
In residential construction, many drainage failures are not caused by the channel body at all—they are caused by the finish layer. Pavers change thickness. Tile build-ups vary. Landscape edging settles. If the slot sits too low, it becomes a dirt trap. If it sits too high, water bypasses it.
TopSlot Drainage addresses this with customizable slot height, so the slot can be tuned to the real finished surface level. This is a practical benefit for your project team:
• Less rework when paving thickness changes late in the build
• Cleaner lines because the slot sits "correctly" relative to the finished surface
• More predictable water capture on subtle slopes
Slot position also matters more than beginners expect. TopSlot offers middle slot, side slot, single slot, multiple slot, or arc slot options. In real projects, this translates into control:
• Center slots suit symmetrical paving and straight runs
• Side slots help when you need drainage tight to a wall line or edge condition
• Arc slots support curved landscape architecture and rounded plaza geometry
• Multi-slot designs help increase surface capture in zones with higher runoff or splash
Instead of forcing the architecture to "accept" the drain, you choose a slot configuration that fits the architecture.
9) Choosing the Right Load Class for Real-World Use
Residential does not always mean "light duty." Fire lanes, delivery areas, and mixed-use podiums can see higher loads than expected. A Drainage System For Residential Buildings should be sized to the reality of how the site will be used five years from now, not just how it looks on opening day.
TopSlot cover thickness can be selected as 1.2 mm, 2 mm, or 3 mm, and the system supports loading classes up to D400. For the customer, this is not just a specification—it is protection against future surprises:
• Reduced risk of deformation in zones with carts, service vehicles, or concentrated foot traffic
• Longer service life, fewer replacements, and fewer "mystery cracks" around the drain line
• More confidence when residential projects include public-facing retail or shared access roads
CTA: Share your site plan (or a simple sketch with dimensions, surface material, and usage zones) with CMSA, and we will recommend a TopSlot configuration—slot style, channel width, and cover thickness—that fits your Drainage System For Residential Buildings without overdesigning the budget.


