
A Step-by-Step Linear Drain Installation Guideline
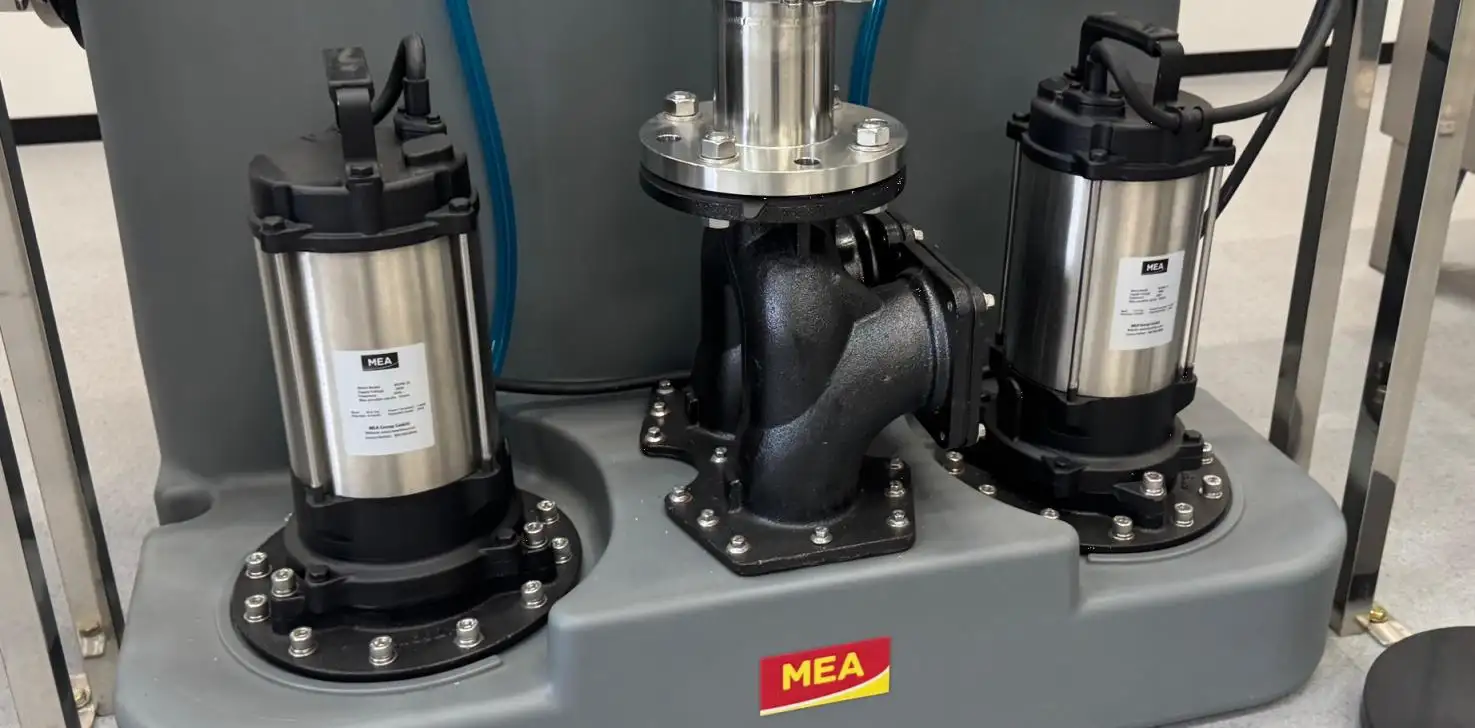


Linear drainage systems are widely used in bathrooms, commercial kitchens, swimming pools, balconies, terraces, car parks, food-processing facilities, industrial areas, and hospitality buildings. Compared with conventional point drains, linear drains collect water along an extended channel and can simplify floor-slope design.
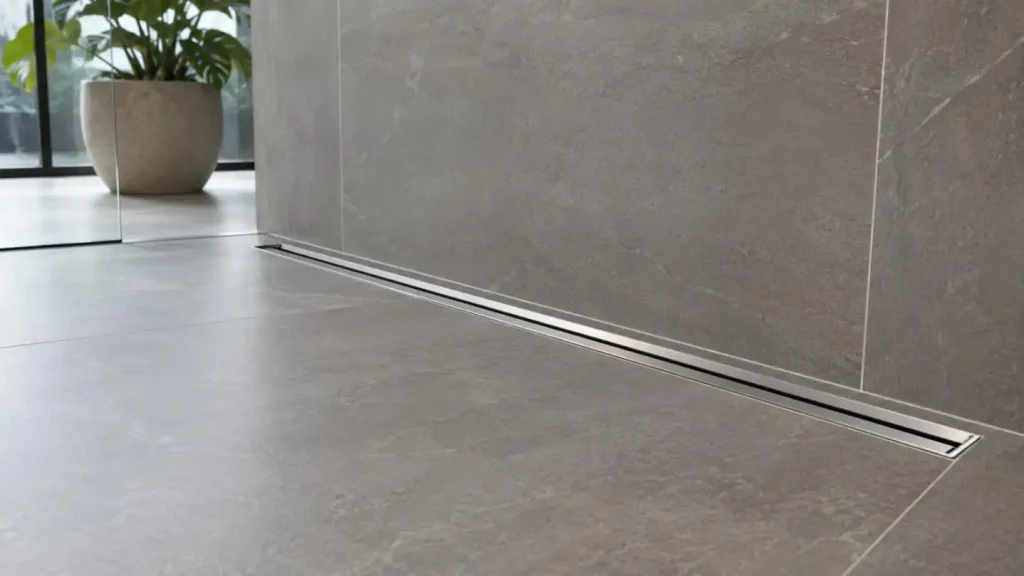
However, even a well-designed drainage channel may perform poorly if its height, outlet, waterproofing connection, or surrounding floor slope is incorrect. A reliable linear drain installation guideline helps installers coordinate drain positioning, pipe connections, waterproofing, screed construction, floor finishes, and final testing.
What Is a Linear Drain?
Linear drains are elongated drainage systems that can be used to gather surface water over a considerable expanse. A typical system may include:
•Drain channel
•Grating or slot cover
•Drain outlet
•Trap or sediment basket
•Waterproofing flange
•Adjustable supports
•Connection pipe
The main difference between a linear drain and a point drain is the water collection pattern.
| Installation Factor | Linear Drain | Point Drain |
| Drainage opening | Continuous linear inlet | Single inlet point |
| Floor slope | Often allows a one-directional slope | Usually requires multiple slopes |
| Typical applications | Large, accessible, or modern wet areas | Smaller or conventional wet areas |
| Main installation focus | Channel alignment, waterproofing, and continuous slope | Central positioning and surrounding slope |
Neither system is suitable for every project. Selection should depend on floor layout, expected flow rate, maintenance requirements, and the intended application.
What Should Be Considered Before Installation?
Site conditions and drainage design must be considered before any linear drain installation guideline can be applied.
Review the Drainage Design
For the drainage design, take note of the:
•Position and length of the drain
•Outlet position and outlet flow direction
•Drain pipe size and the flow rate of the drain
•Location of finished floor, walls, doors, and equipment
•Layout of the drain and tile/floor finish
•Accessibility for drain maintenance and cleaning
The placement of a drain should be such that the path of flow is unobstructed and does not require water to traverse an area that is normally dry, or be forced to flow around doorways and equipment.
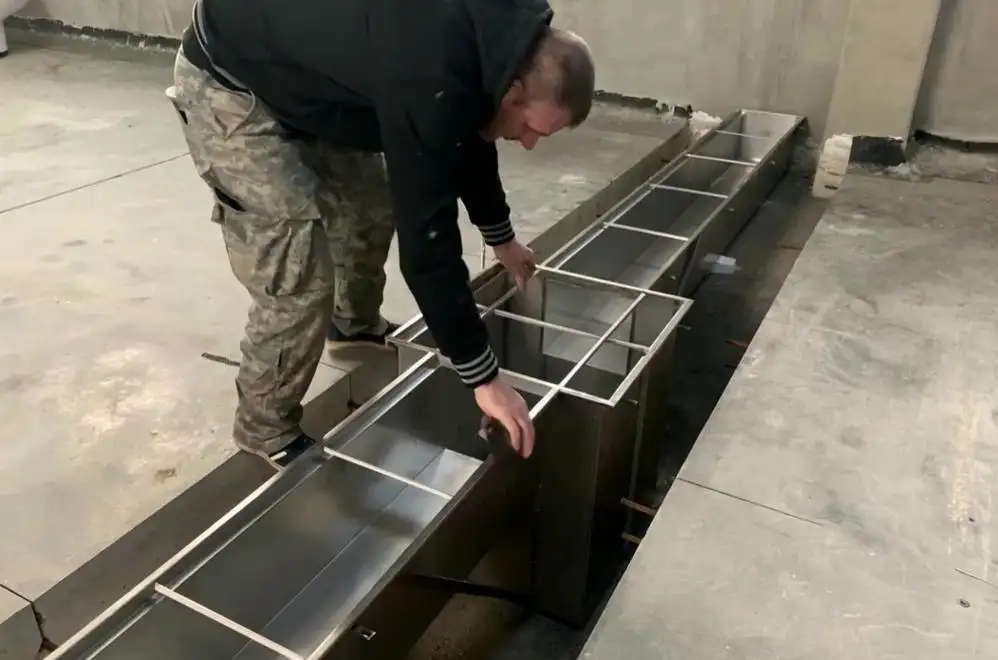
Review the Substrate
The Substrate should be:
•Even and stable, not cracked
•Compatible with the drain and the proposed waterproofing
•Sufficiently deep for the channel and outlet, clean and free of loose material
Review the Codes
Floor slopes, waterproofing, traps, pipe diameters, hygiene, fire safety, and accessibility may have differing requirements based on region and application. It is, therefore, advised to check the drawings for the project, the local code, and instructions for the product prior to performing the work.
Tools and Materials
Required tools and materials can be categorized into the following:
•Measuring: Spirit level, Laser level, Tape measure, Marker
•Installation: Screwdriver, Drill, Cutting tools, Wrench
•Fixing: Concrete, Mortar, Brackets, Adjustable feat
•Connection: Drainpipe, Fittings, Approved Jointing Materials
•Waterproofing: Membrane, Primer, Sealing Tape, Flange Accessories
•Inspection: Cleaning tools, Test plugs, Water container
The exact materials vary based on the channel design, substrate, waterproofing system, and floor finish.
Linear Drain Installation Guideline: Step-by-Step Process
Step 1: Determine the Drain Position
Linear drains can be placed in numerous areas of a room. Typical areas include the placement of a drain along a wall, near the entrance to the room, in the middle of the room, next to equipment, or in the separation between wet and dry zones.
While you are free to choose your given placement, consider the direction the water drains, how you will access the pipes, access for maintenance, the layout of the tiles, and the spacing of everything.
Step 2: Set the Drain Height
Adjust the channel to the desired level with the finished flooring level taken into account.
•Tile thickness
•Adhesive or bedding layer
•Waterproofing thickness
•Screed depth
•Grating height
•Slope
The drain height should be set to finished floor level. Where a drain is placed too high will cause water to pool and where it is placed too low will create a dangerous fall.
Step 3: Connect the Drain Outlet
Ensure your drain is compatible with the present outlet. Joints should be coupled correctly and the outlet connection should be free of any flex.
The outlet connection should be made firm, correctly supported and should pass a connection integrity test before the channel is set in place permanently.
Step 4: Level and Secure the Channel
Take the following points into consideration when channel placement is being examined:
•Longitudinal alignment
•Level side-to-side
•Final elevation
•Stable outlet
•Adequate distance from adjacent walls
•Floor geometry
Channels are fixed by adjustable feet, brackets, mortar or structural fasteners, depending on the channel. It is important to follow the manufacturer's guidelines and apply the recommended slope on the installation floor per the manufacturer's specifications.
Step 5: Form the Floor Slope
Water should flow to the drain with no sags or dips to hold water. A gentle slope of about 1% to 2% is the norm, but always check with local codes.
Also consider the slope of the floor and how it relates to the area being kept dry, tile joints, the height of doorways, and general walking ease and comfort.
Step 6: Implement the Waterproofing System
Before the waterproofing membrane is installed, the substrate is required to be cleaned and primed. The membrane is to be completely sealing to the drainage flange.
Keep the following in mind:
•Edges of channels
•Corners
•Overlaps of the membrane
•Penetrations of pipes
•Junctions of wall and floor
Waterproofing shall provide a continuous, sealed interface between the substrate and the linear drain flange. A sealant may not be used as a substitute for a complete waterproofing system unless it is approved.
Step 7: Complete the Screed and Floor Finish
During the installation of the screed and tiles:
•Slope should be maintained
•Mortar should not enter the drainage channel
•Movement joints should be provided
•A gap should be maintained between the tile and the drain
•Grating should be removable
•Access to maintenance and cleaning components should not be blocked.
Step 8: Install the Grating or Cover
Ensure that Grating is stable, removable, properly oriented, and level with the floor. Ensure that grating is of the appropriate load class with the appropriate slot size and is corrosion resistant, slip resistant, and hygienic to the installation environment.
Step 9: Test Drainage Performance
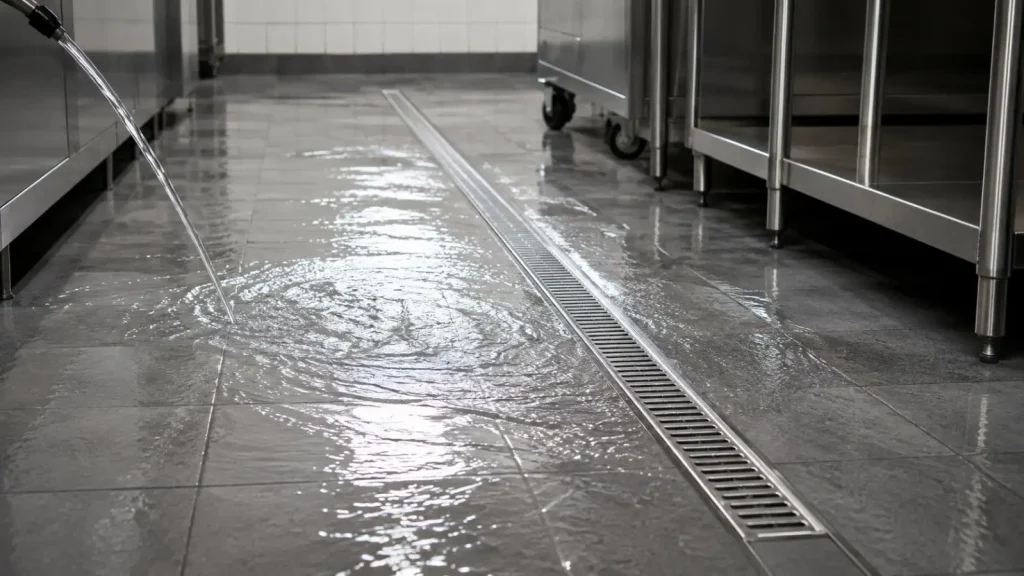
Prior to handover, a flow test should be performed to confirm that the flow of water towards the drainage system is continuous without creating stagnant areas.
Also examine:
•Outlet connections.
•Channel joints.
•Waterproofing interfaces.
•Stability of grating.
•Trap and odour-control components.
•Surrounding floor joints.
Installation Factors for Varying Applications
| Application | Principal Factors |
| Bathrooms and Showers | Waterproofing, accessibility, layout of tiles |
| Commercial Kitchens | Capacity of flow, hygiene factors, grease, food debris |
| Swimming Pools Slip | Resistance, corrosion, consideration of surrounding slope |
| Balconies and Terraces | Waterproofing, movement joints, consideration of overflow |
| Industrial Facilities | Factors such as the class of load, chemicals, flow rate, the cleaning tools available |
| Car Parks | Factors such as vehicle loads, sediment, corrosion, and access for maintenance |
Common Mistakes in Linear Drain Installation
Common mistakes include:
•Channelling above or below the finished floor
•Poor or no sloping of the floor
•No continuous membrane connection to the flange
•Unsupported outlet pipes
•Mortar/adhesive blocking the channel
•In removable grating
•Inappropriate class of load
These mistakes can lead to leakage and odors as well as poor floor finish and cleaning, and the system failing sooner than it should.
How to Maintain a Linear Drain
Maintenance requires periodic removal of grates to inspect traps and odor-control features and to remove buildup of hair, grease, sediment, and food debris.
Cleaning products that are overly corrosive to the point of damaging the stainless steel, seals, and surface treatments are to be avoided. If you notice that draining is slowing down, inspect the channel and pipework to avoid a complete blockage.
Final Recommendations for Reliable Linear Drain Installation
Linear drain installation guidelines exist because of the importance of many details to the end result, including ponding, leakage, the quality of the finish, and the amount of maintenance required. Each installation requires careful planning and consideration of the continuous slope and elevation of the floor, the drain, waterproofing, and support for the outlet. Prior to handover, flow testing and leak testing, as well as tests for waterproofing, should be completed, and access to all removable parts should be granted.
Planning a Linear Drainage Project?
CMSA collaborates to bring you linear drainage solutions with international backing and local expertise. As the MEA sole distributor in Southeast Asia, CMSA will assist you in every step from product choice to planning and even product installation. Reach out to CMSA and let us assist you with your project.
FAQs
Q1. What is the Recommended Slope When Installing Linear Drains?
Generally, a slope of 1% to 2% towards the drain is used. However, the slope should be in compliance with the requirements of the local authority, the drawings, and the site.
Q2. Should a Linear Drain Channel be Installed Flat?
A channel should be installed per the manufacturer's direction. Some channels are designed to be installed flat and have a slope built into the channel. Some require a slope to be built for the channel installation.
Q3. What is the Ideal Location for a Linear Drain?
A linear drain can be placed along a wall, at the entrance of a wet area, in the middle of a room, or adjacent to a wet area piece of equipment. However, the location of all drains should allow for the most efficient drainage and should be easy to maintain.
Q4. How Should Waterproofing be Sold to a Linear Drain?
The waterproofing membrane should make a continuous, sealed connection to the drain flange, and all corners, joints, overlaps and penetrations should be reinforced.
Q5. What is the Recommended Height for a Linear Drain?
The top of the linear drain should be flush with the top of the floor. Considerations should be given to the final floor finish, and the slope as well as the waterproofing membrane.


